Installing LibGDX 0.9.9
This is a quick guide on setting up LibGDX. LibGDX is a pretty awesome game development framework (not an engine) that allows your game to run on Android, Desktop, Web, and iOS platforms. The 0.9.9 release changes some things (like the use of RoboVM to support iOS) so the setup instructions vary slightly from many of the existing tutorials. Additionally I'm starting with the Android SDK (Eclipse + ADT plugin) version x86-20131030 instead of plain Eclipse. Since I want to make both Android apps and games it makes more sense to start with the Android SDK.
I'll assume you have the Java SDK and the Android SDK installed and functioning.
##Install GWT
To support running your LibGDX game in a web page you'll need to add the Google Web Toolkit (GWT) plugin to Eclipse. The GWT plugin is specific to the version of Eclipse you are using so you'll need to know what version of Eclipse Google used when packaging ADT. Currently the x86-20131030 release uses Eclipse 4.2. You can figure this out by going to Help -> About ADT -> Installation Details -> Features and finding the feature named Eclipse Platform.
To install the GWT plugin open the Help -> Install New Software menu item. In the Work With field enter https://dl.google.com/eclipse/plugin/4.2 as a source and press the Add button. Name the repository Google Plugin and press OK. Select the following pieces of software to install:
- Google Plugin for Eclipse
- Google Web Tookkit (under SDKs)
Press Next a couple of times, agree to some licenses, and click on Finish. The software required for GWT support will download and install. You might get a warning about unsigned content after the installation begins. Once it finishes you'll have to restart Eclipse.
##RoboVM (Mac Only)
The RoboVM plugin for Eclipse allows you to test the iOS version of your LibGDX game but it only functions correctly under MacOS X. If you are using a Mac, add another software repository just like you did for GWT, this time for RoboVM. RoboVM is what the latest versions of LibGDX use to offer iOS support for your games. The repository URL is http://download.robovm.org/eclipse/ and there is only one piece of software, RoboVM for Eclipse, to select from and install.
##LibGDX
Download the latest release of LibGDX (currently 0.9.9) from http://libgdx.badlogicgames.com/download.html. Extract the content of libgdx-0.9.9.zip into a folder you create named libgdx-0.9.9. Now copy the libgdx-0.9.9.zip file into the libgdx-0.9.9 folder you just extracted the zip into. It may seem weird but when you run the LibGDX Project Setup GUI it will want a zipped copy of LibGDX.
Run the gdx-setup-ui.jar program. On some systems you might be able to double-click the JAR file, on others you might have to open up a command line and run java -jar gdx-setup-ui.jar.
In the LibGDX Project Setup assign a name, package, and class name. The core and android project types are required while the other project types are optional. The majority of your code will go in the core project which is shared by all the project types. Typically the primary goal is to create an Android application but having to deploy to the emulator or an actually Android device can be time consuming. The desktop project will but what you run day-to-day while your developing in order to test your code changes. The html project will allow WebGL supporting browsers to run LibGDX games and enable readers of this blog to run the examples I'll be writing about. The ios project type enables you to create games for Apple devices but will require you to use a Mac OS X machine. You can generate the ios project if you'd like but opening it on a Windows machine will cause build errors.
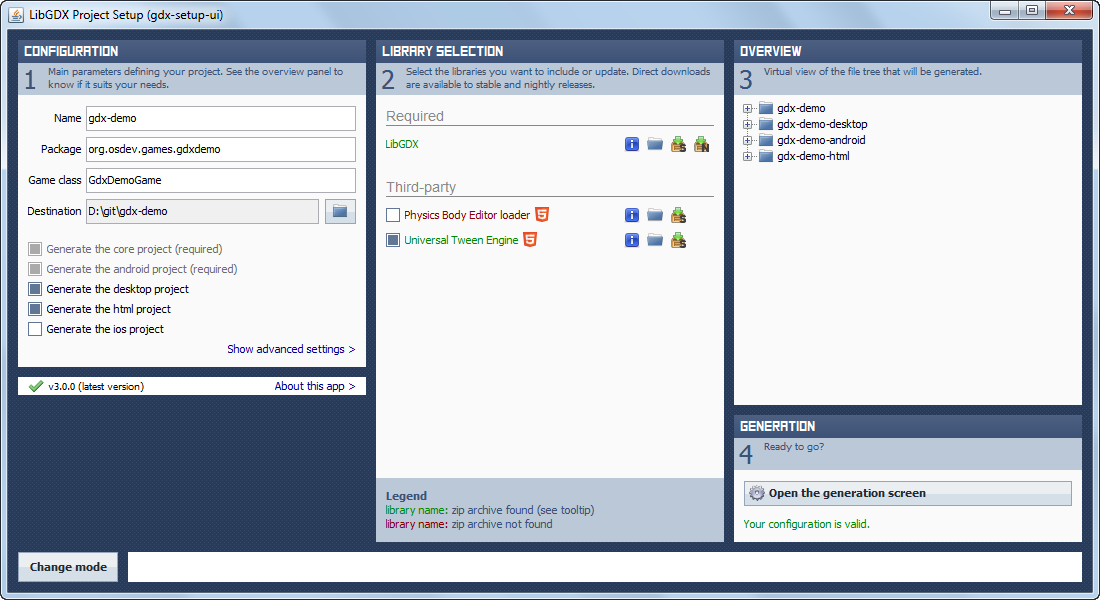
Notice I've also selected the Universal Tween Engine. We'll use the Tween Engine to move objects around on the screen. The Tween Engine is not distributed with LibGDX, you'll have to click the download icon (the box with the green arrow) before the Tween Engine becomes green and is selectable. After filling out the information press the "Open the generation screen button".
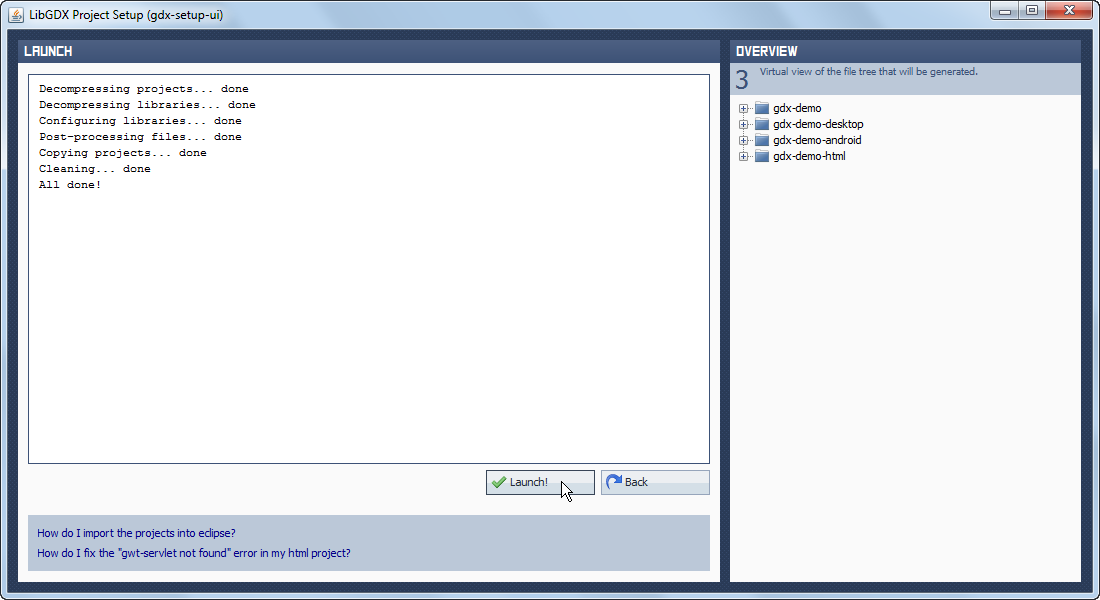
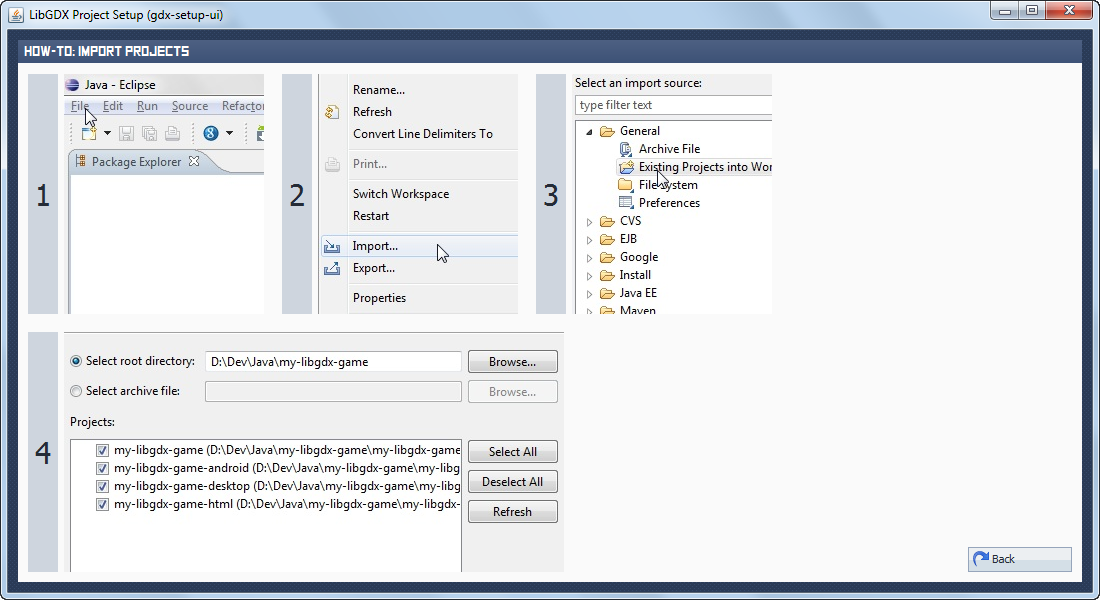
On the second screen press the "Launch" button to generate the projects. The "How do I import the projects into eclipse?" link will show you how to open the projects within Eclipse.
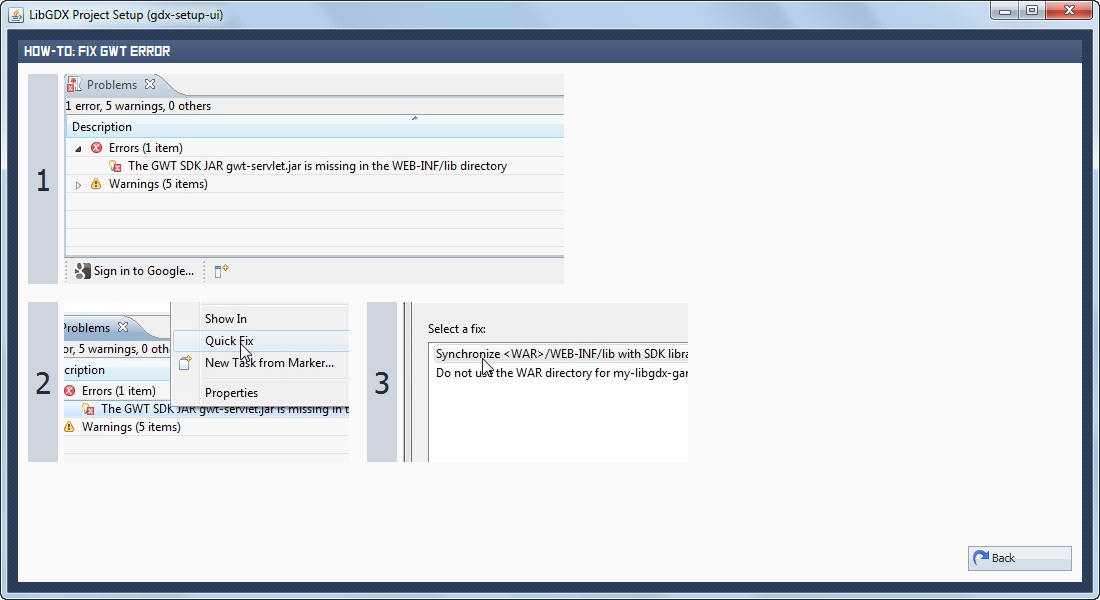
The "How do I fix the gwt-servlet not found error in my html project?" link will show you what you need to do in order to add the gwt-servlet.jar to your project.
After opening the projects in Eclipse you'll also need to add a version of the Android libraries to the android project.
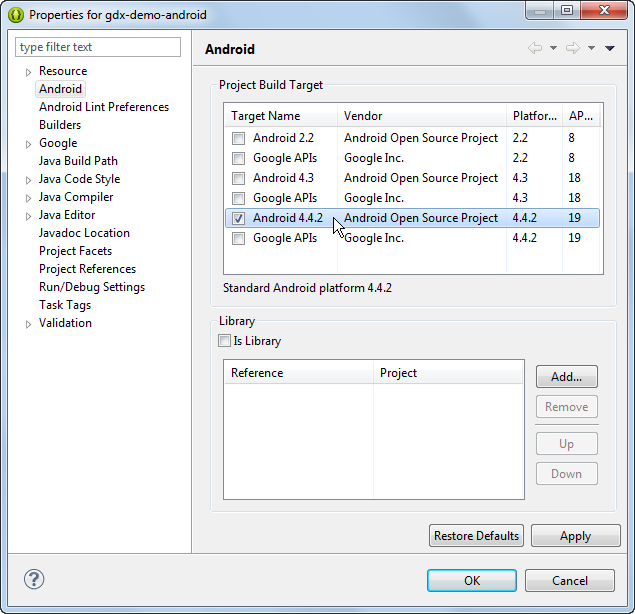
Almost all your code will be added to the shared project (gdx-demo in this case). You should be able to run the gdx-demo-desktop project (as a Java Application) at this point.
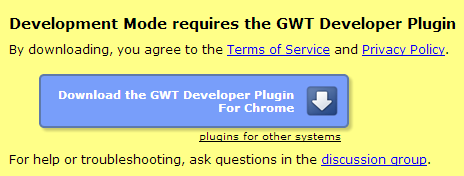
To run the html project, run the gdx-demo-html project as a Web Application. This will run the Google Web Tookit (also known as GWT) based project in development mode. GWT development mode requires you to install a plugin in your web browser. You'll also have to be using a modern web browser that supports WebGL.
When you are ready to publish a LibGDX project you must run the GWT Compile task from the Google menu of your project. The result will be a war file that can be copied to any web server. Some games might require a Servlet container like Tomcat but our basic demo will function on any web server. You can view the result at LibGDX Demo.