Hosting a static website with OCI Object Storage
This article shows how you can host a website on Oracle's Cloud without using any compute instances or paid services. Best practice? No, but it is interesting to see what you can accomplish without installing a traditional web server.
Disclaimer: I work for Oracle but I don't work in the Oracle Cloud Infrastructure (OCI) group. Opinions expressed here are my own.
The goal is to run a website for free using Oracle Cloud Infrastructure Object Storage and Cloudflare. Oracle's Cloud Infrastructure has a free tier which provides a set of always free resources including object storage which can be used to serve files over HTTPS. Cloudflare also has a free tier which can be used to make the files located in object storage available under a custom domain.
Create a bucket for your website
Many of these steps could be performed with API calls or by using the CLI however for simplicity I'll be using the web console.
Sign-in to the Oracle Cloud Console and open the Object Storage screen.
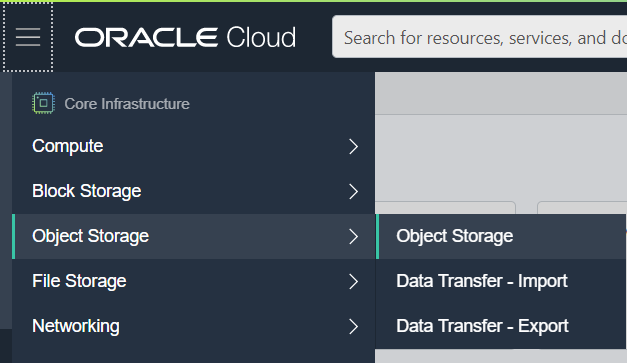
Create a new standard bucket. Because of a later task performed in the Cloudflare section, don't use your domain name as part of the bucket name. I choose site as my bucket name.

Open the bucket by clicking on the bucket's name and then press the Edit Visibility button. Switch the VISIBILITY to PUBLIC. Press Save Changes to save your changes.

Uploading a sample web Page
Create a local file named index.html with with following contents:
<!DOCTYPE html>
<html lang="en">

<head>
  <meta charset="UTF-8">
  <meta name="viewport" content="width=device-width, initial-scale=1.0">
  <title>Hello World!</title>
</head>

<body>
  <h1>Hello World!</h1>
</body>

</html>
Under the Objects section of the OCI console bucket page, click on the Upload button. After uploading the index.html file click on the three dots at the end of the index.html object's row in the Objects table and select View Object Details. The details pane will show you the object's URL. Click on the URL to open it.
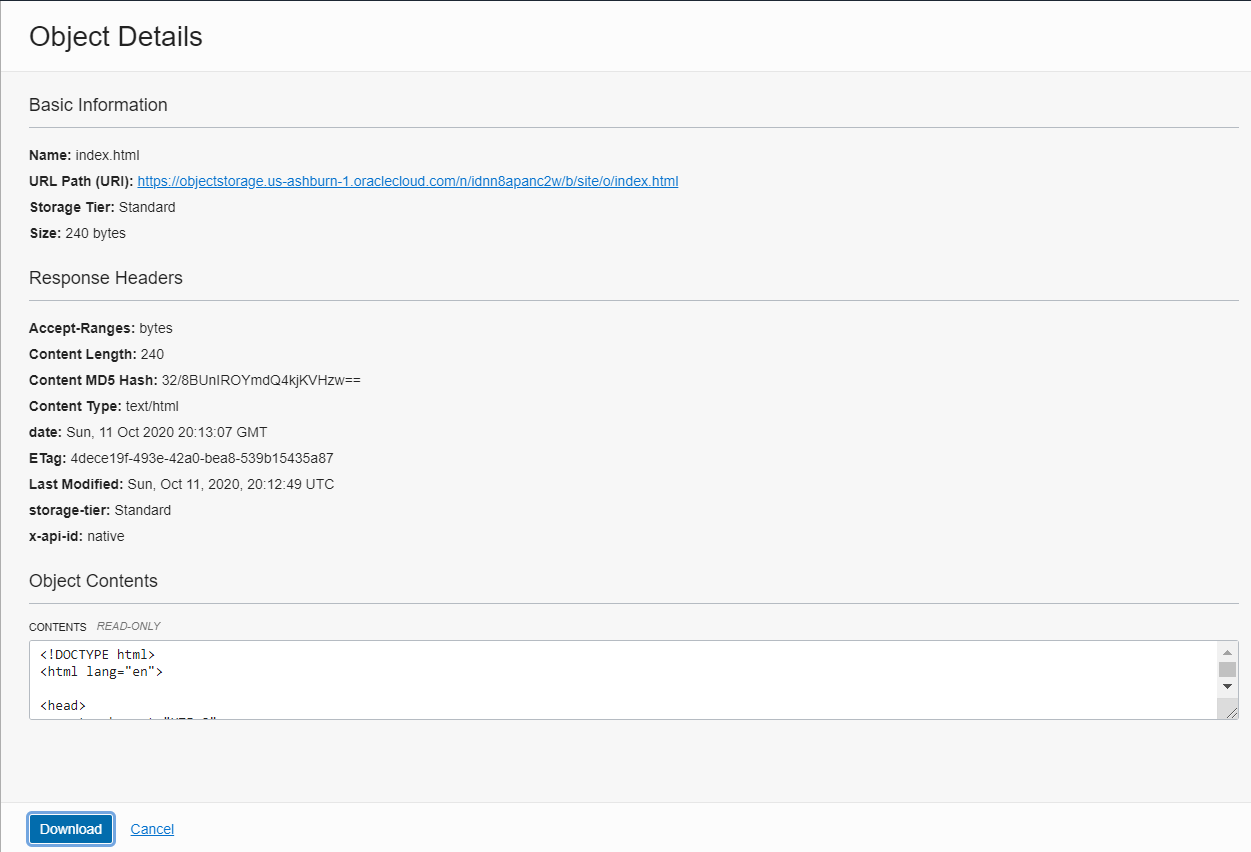
The all that's needed to host files in OCI Object storage and make them available at a URL.
Limitations of hosting web pages in Object Storage
Object Storage will make objects available over an HTTPS URL but it is not a replacement for everything a traditional web server can do. For example you can't setup a customer 404 error page.
Probably the biggest limitation is that the domain and path are not pretty. By itself, OCI does not have an option to use a vanity URL for the contents of a bucket.
Its possible that OCI might add support for vanity URLs in the future but I don't know if there are plans to. AWS does support the AWS HTTP Host Header Bucket Specification and virtual host style access which means an AWS bucket URL can be tied to a personal domain and be willing to accept a vanity Host: header (custom domain). As of today, OCI only makes objects available using path based URLs in forms such as https://objectstorage.{region}.oraclecloud.com/n/{object-storage-namespace}/b/{bucket}/o/{filename}.
To add a vanity URL to OCI Object Storage hosted files you need to setup a web server at the vanity URL and either redirect the pretty URLs to their OCI equivalents or proxy the traffic from the pretty URL to the OCI URL so that users never see the OCI URLs.
Luckily we can use Cloudflare to make our vanity URL functional.
Setting up Cloadflare
Cloudflare is a Content Distributation Network (CDN) that helps web sites to scale. They offer a free usage tier for personal sites that we can use to solve the vanity URL issue.
To follow along with this section you'll need a domain name that is registered at a domain name register. Preferably one that you aren't doing anything else with.
Go to https://dash.cloudflare.com/ and create an account or sign-in if you already have one.
Once logged in, go back to the Cloudflare dashboard and add a new site.
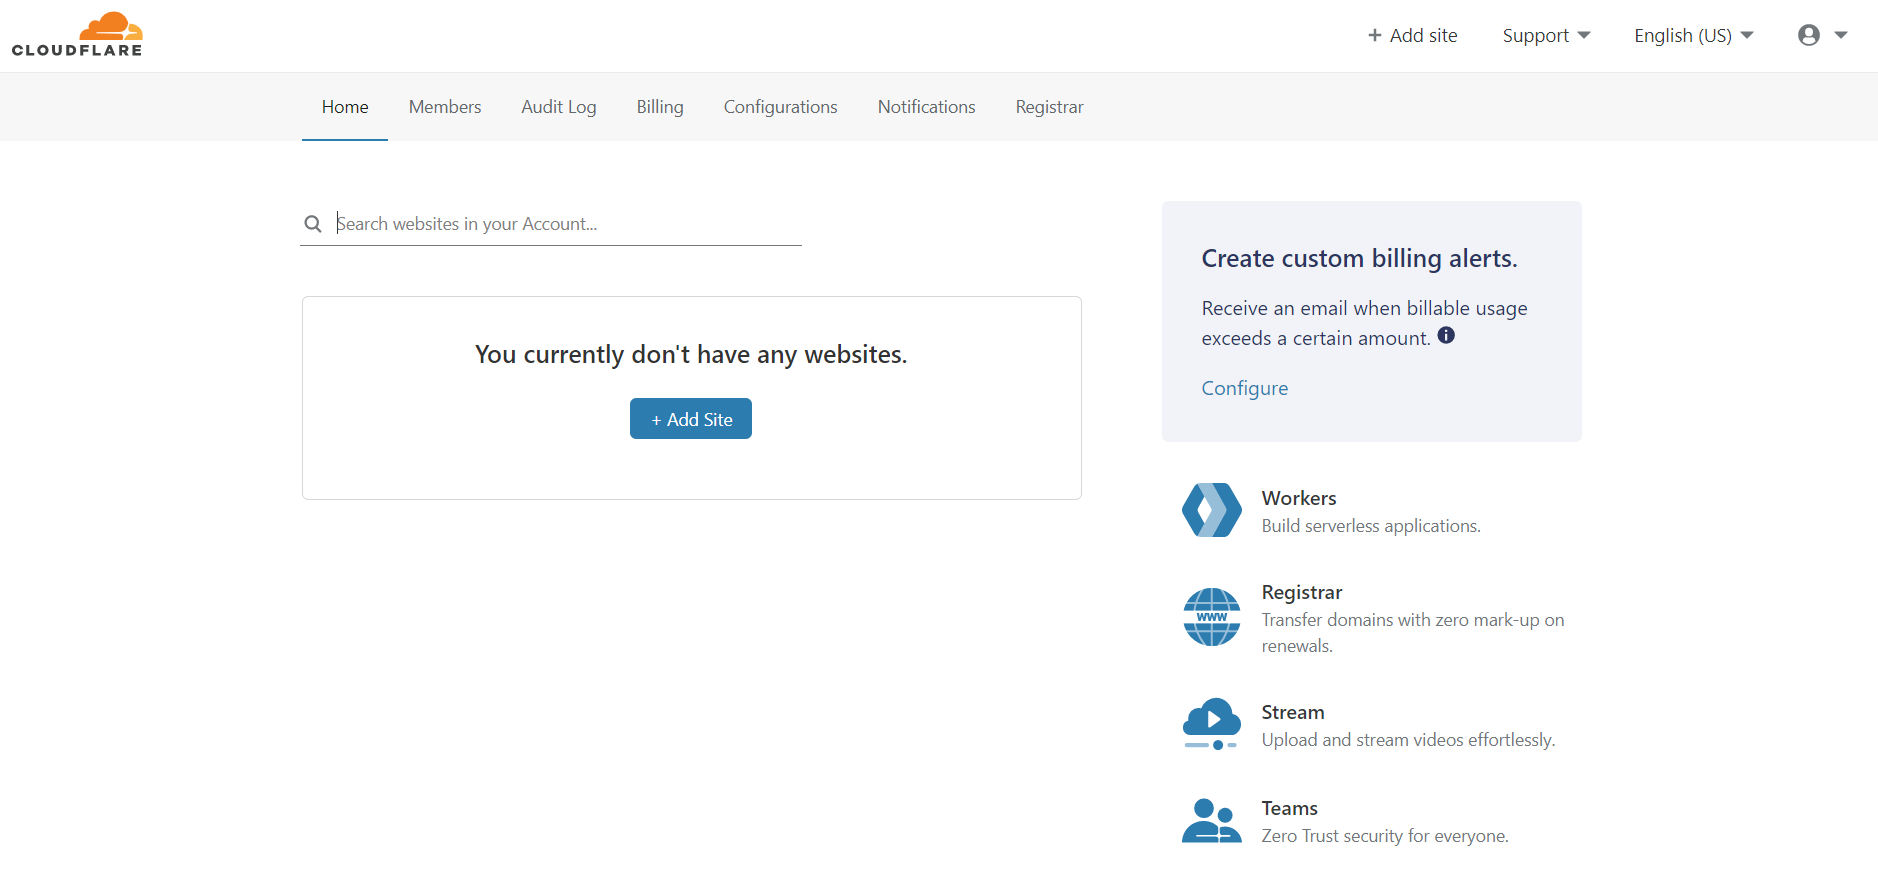
Enter the domain name of a domain that you own.
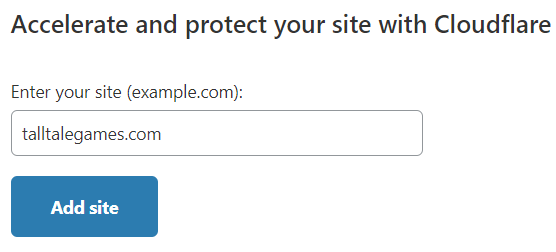
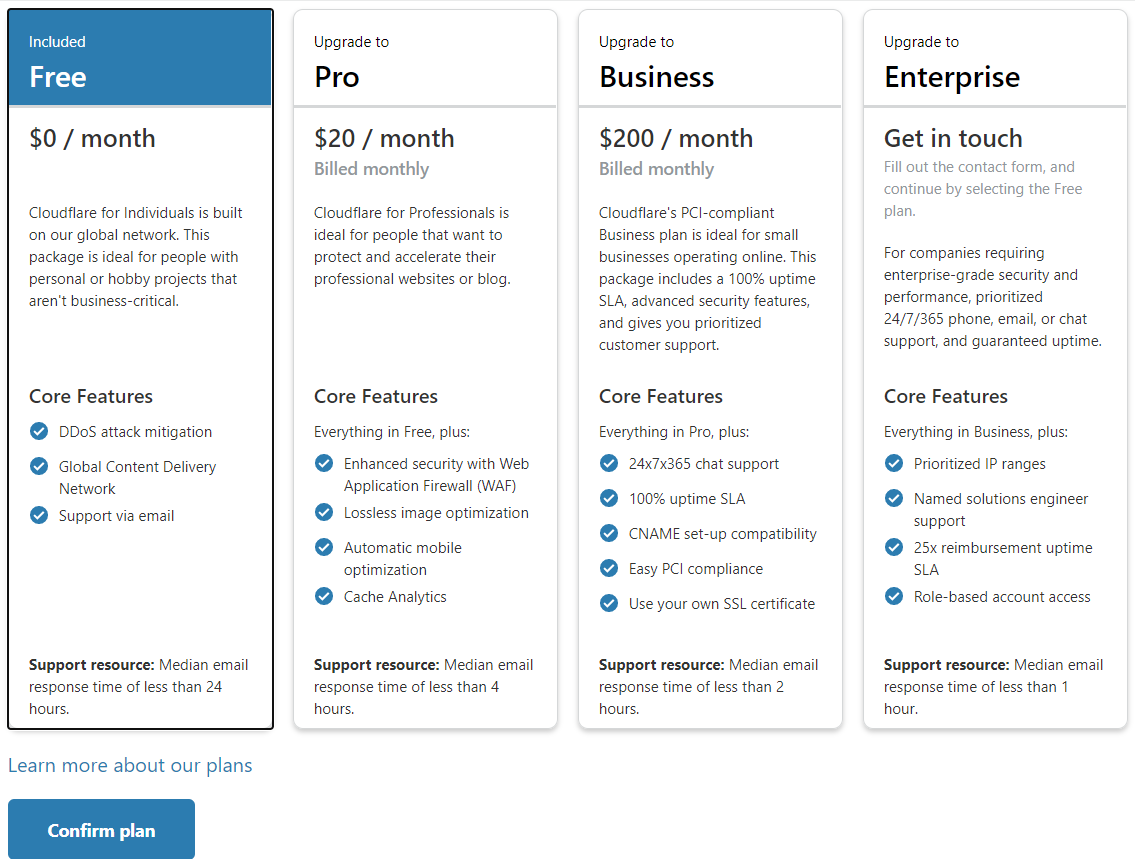
If prompted, select the Free plan.
Next you'll be shown a Change your nameservers page with instructions on how to update your domain to use the Cloudflare DNS servers which is required to enable traffic to pass through Cloudflare. After completing the steps press "Done, check nameservers".
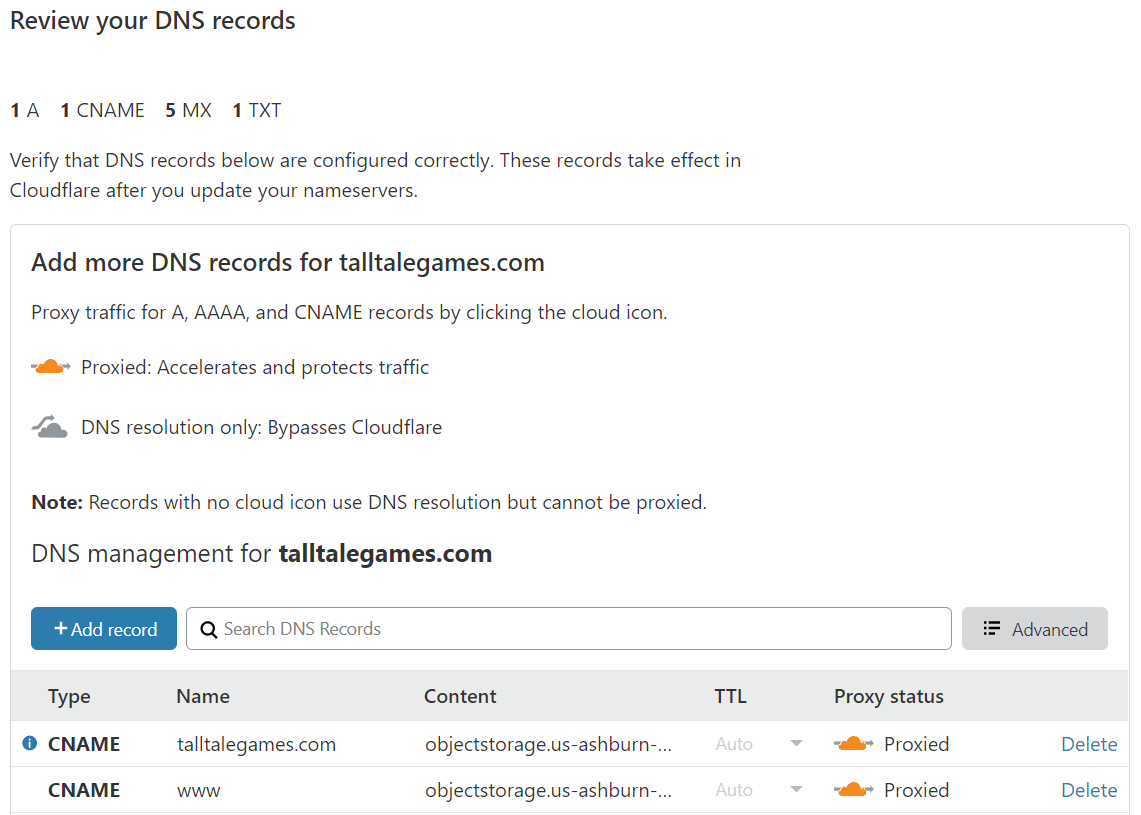
After the nameserver changes propagate you will then need to set your DNS records. You can have other records like MX records, the important part is setting your root domain and www host. As shown in the screenshot below, I've created CNAME records and used the OCI domain as the value. Technically the value won't matter for our purpose and the CNAME records won't support the normal Cloudflare purpose which is to use DNS to direct traffic from its DNS servers to Cloudflare's caching CDN and if the cache is missing or out of date then to your origin website.
The OCI object storage URL won't really function for this purpose because when using a CNAME like shown below, the HTTP traffic will use the value from the user's browser, something like www.talltalegames.com, and add that into the HTTP request as a Host: www.talltalegames.com header. The OCI object storage server won't recognize the host and will not return your objects.
We'll take advantage of other Cloudflare features that will run before Cloudflare tries to talk to your origin server. The other features are Page Rules and Workers. For now just finish the DNS setup.
The next page is titled Quick Start Guide and will provide you with a couple different options. I recommend turning on both HTTPS options under the Improve Security section. Make sure you press Save under each option followed by Finish in the Summary section.
Page Rules
A page rule allows you to trigger a Cloudflare supported action for any traffic matching a URL patter in your domain. One of the available ations is a redirect. Setting up a redirect will allow you to share a pretty URL with your site visitors instead of the longer OCI object storage URL. Upon visiting the URL the visitors will be redirect using an HTTP redirect to the longer OCI object storage URL. Because of the way browsers handle HTTP redirects, your visitors will see the longer OCI object storage URL in their browser after the redirect but at least they were able to start by typing in a shorter URL. The end result of using a page rule is that you'll use Cloudflare as a URL redirection service.
In the Cloudflare dashboard click on the Page Rule icon in the header and then click on the Create Page Rule button.
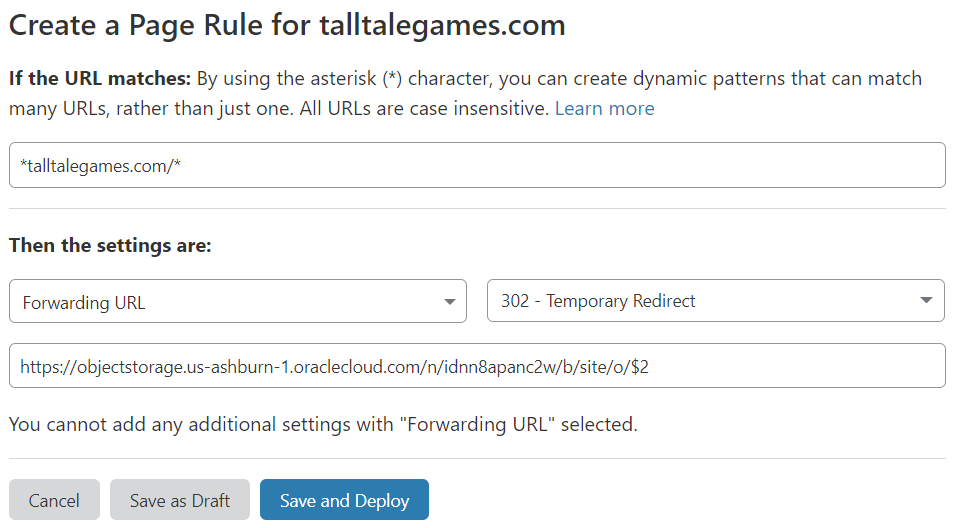
In the Create a Page Rule form enter your domain name starting with an * followed by your root domain and ending with a /* . The starting * ensures that both the root domain and the www domain will be redirected.
Pick a setting of Forwarding URL and set the status code to 302 - Temporary Redirect. For the destination URL, enter the OCI object storage URL for your eariler index.html page but replace index.html with $2 which will be automatically replace with the value of the second asterisk.
Save and Deploy to activate your page rule. It takes a couple seconds to go live but you should be able to visit your vanity domain with a path of /index.html.
Your first 3 page rules are free.
Workers
To completely hide the OCI object storage URL we need to proxy the HTTP traffic on the server side from the vanity URL to the OCI URL. Cloudflare recently introduced a serverless computing platform called Workers that will enable you to do this.
In the Cloudflare dashboard click on the Workers icon in the header and then click the Manage Workers button.
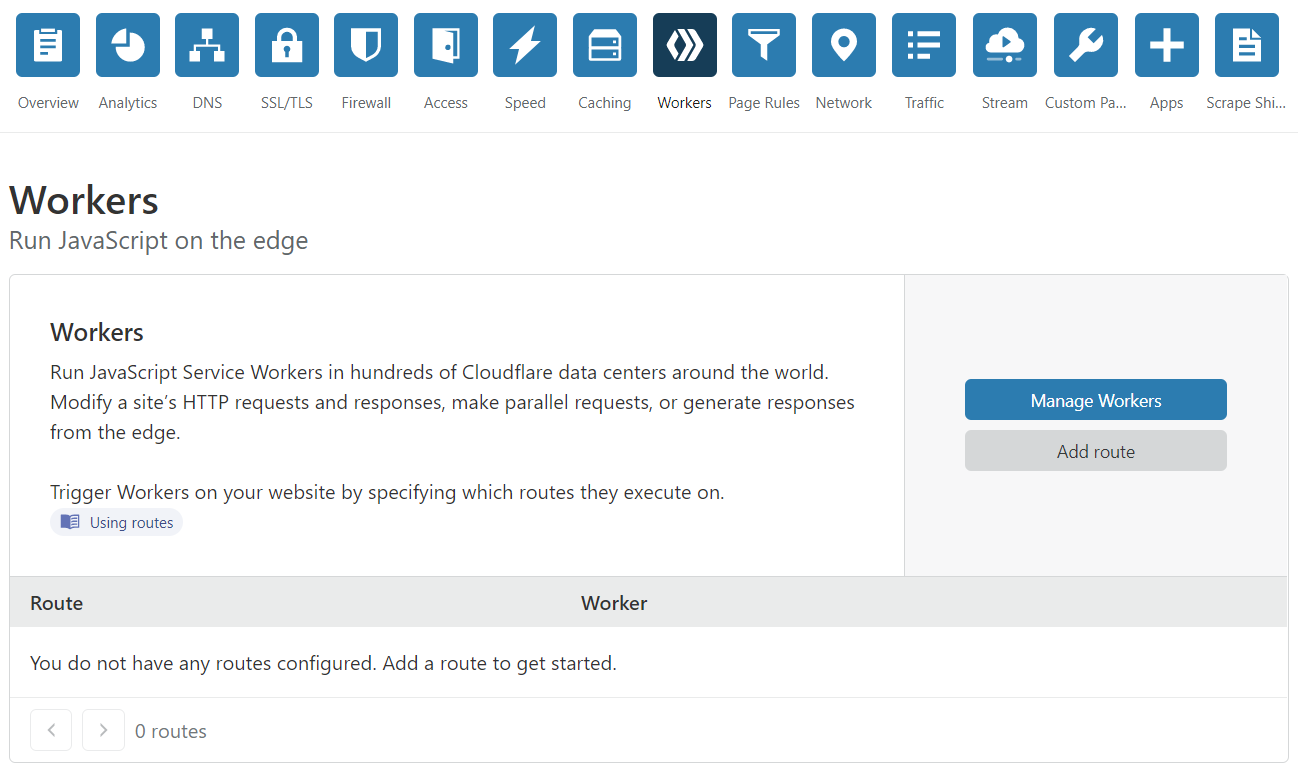
Continue the Workers setup by selecting the domain to enable workers for.
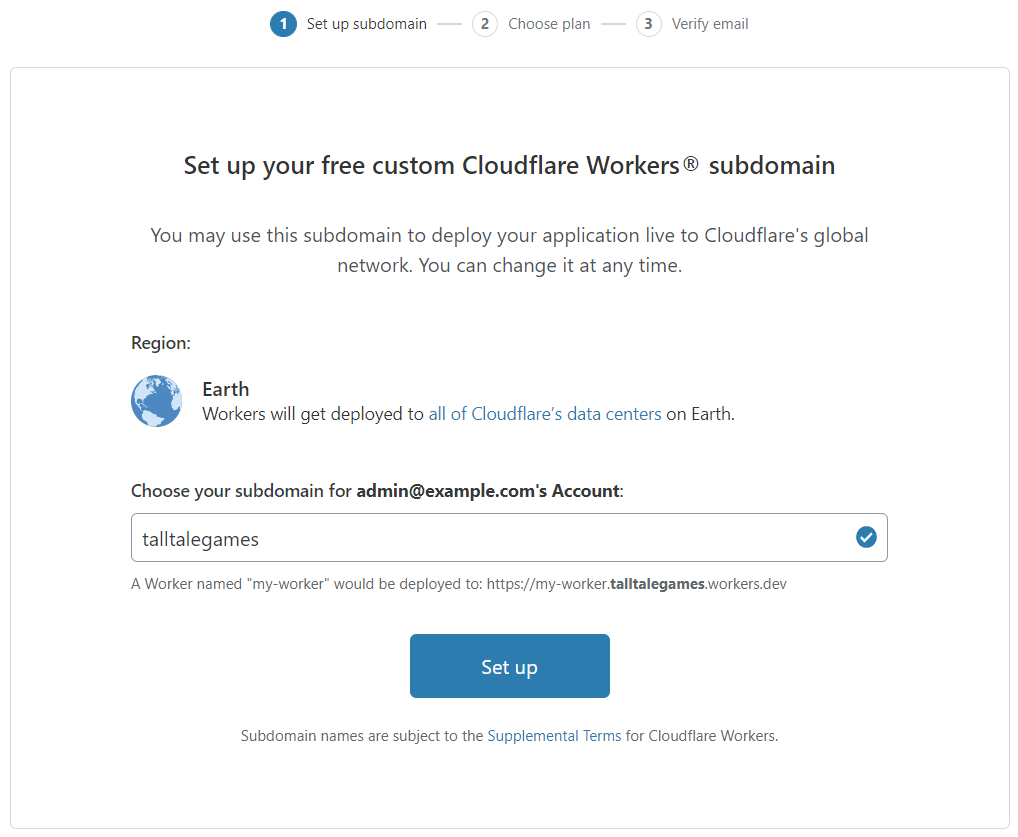
Press the Create Worker button and you'll be taken to the Workers editing environment. Enter the following code as the value for the Script tab. Be sure to replace the {REGION} and {NAMESPACE} placeholders in the script with your own, using your earlier index.html object's URL as a guide. Press the Save and Deploy button.
addEventListener('fetch', event => {
  handleRequest(event);
})

/**
 * Respond to the request
 * @param {Request} request
 */
async function handleRequest(event) {
  var url = new URL(event.request.url);
  if(url.pathname.endsWith('/')) {
    var path = url.pathname + 'index.html';
  } else {
    var path = url.pathname;
  }
  var originUrl = 'https://objectstorage.{REGION}.oraclecloud.com/n/{NAMESPACE}/b/site/o' + path + url.search;
  event.respondWith(fetch(originUrl));
}
Return the Cloudflare dashboard click on the Workers icon in the header and click on the Add Route button.
Enter a route of an * followed by your root domain and ending with a /* . There is is placeholder text that is already showing this value but you need to actually type it in yourself. In the Worker dropdown select the worker that was create when you save the sample code above.
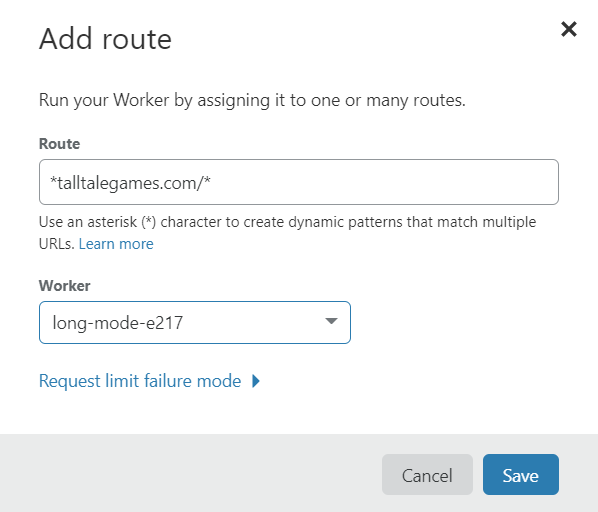
The worker code functions as a server side proxy. It runs on Cloudflares servers using NodeJS. The fetch call will make an HTTP request to the OCI object storage web server and return the response to the user. Unlike the earlier page rule, an HTTP redirect is not used.
You should be able to visit the /index.html page on your vanity domain and the domain will be preserved in the browser's address bar.
Worker Limitations
Because you are now running JavaScript on Cloudflare's servers for every HTTP request to your site it does introduce some overhead.
Direct calls to the OCI object storage URLs such as https://objectstorage.us-ashburn-1.oraclecloud.com/n/{NAMESPACE}/b/site/o/index.html respond in 50-75 ms.
While URLs like https://www.{domain}.com/index.html respond in 150-500 ms. The 500 ms time is likely when cold starting the worker, normally the time is closer to 150 ms. Not bad but still slower than the original URL.
Also be aware that the free tier of Cloudflare workers has limits of 100,000 requests/day and 1000 requests/min.
If you attempt to use a setup like this long term you might avoid using some workers by changing the worker route to end with *.html and only serve your HTML files using pretty URLs and serve any images, stylesheets, and JavaScript files from the OCI object storage URLs.
In the next post I plan to look at using one of the always free compute resources in OCI to setup a real web server.